The original idea of the WordPress developers was to create a blogging platform that is suitable for both experienced and non-professional users.
Over the years, WordPress has constantly improved, attracting more and more projects, from personal blogs to complex corporate sites. Currently, around a third of all websites use this CMS system.
Today we will show you the steps to create a WordPress blog. Whether you want to create a text blog, a video blog, or an image blog, you must own the rights to what you create and publish.
Step 1 - Choose the Domain Name and a Reliable Hosting Provider
The choice of a domain name should be tailored to the content you want to publish. If you choose your unique domain name, you have a good opportunity to draw users' attention to your posts.

Step 2 - Install WordPress
The installation is very easy via your cPanel (control panel). In the Softaculous applications, select the Automatic Installer option and select WordPress. Here is a step-by-step guide on how to install WordPress:
Step 3 - Install a Theme for Your Blog
Before you start adding content to your new blog, you need to choose a theme to customize your website. Installing a suitable theme that is naturally aligned with the content, target audience, etc. will help to create a high profile in the online space. The best way to upload large themes is through an FTP client. Setting up an FTP account is a quick and easy process.
WordPress themes can be customized using the dashboard tools via the Appearance and Settings menu. You have the option to easily customize the title, fonts, and general look of the page.
There is a huge selection of Free WordPress themes. Here is a selection of 10 Top Free WordPress Themes:
How Do You Install A WordPress Theme?
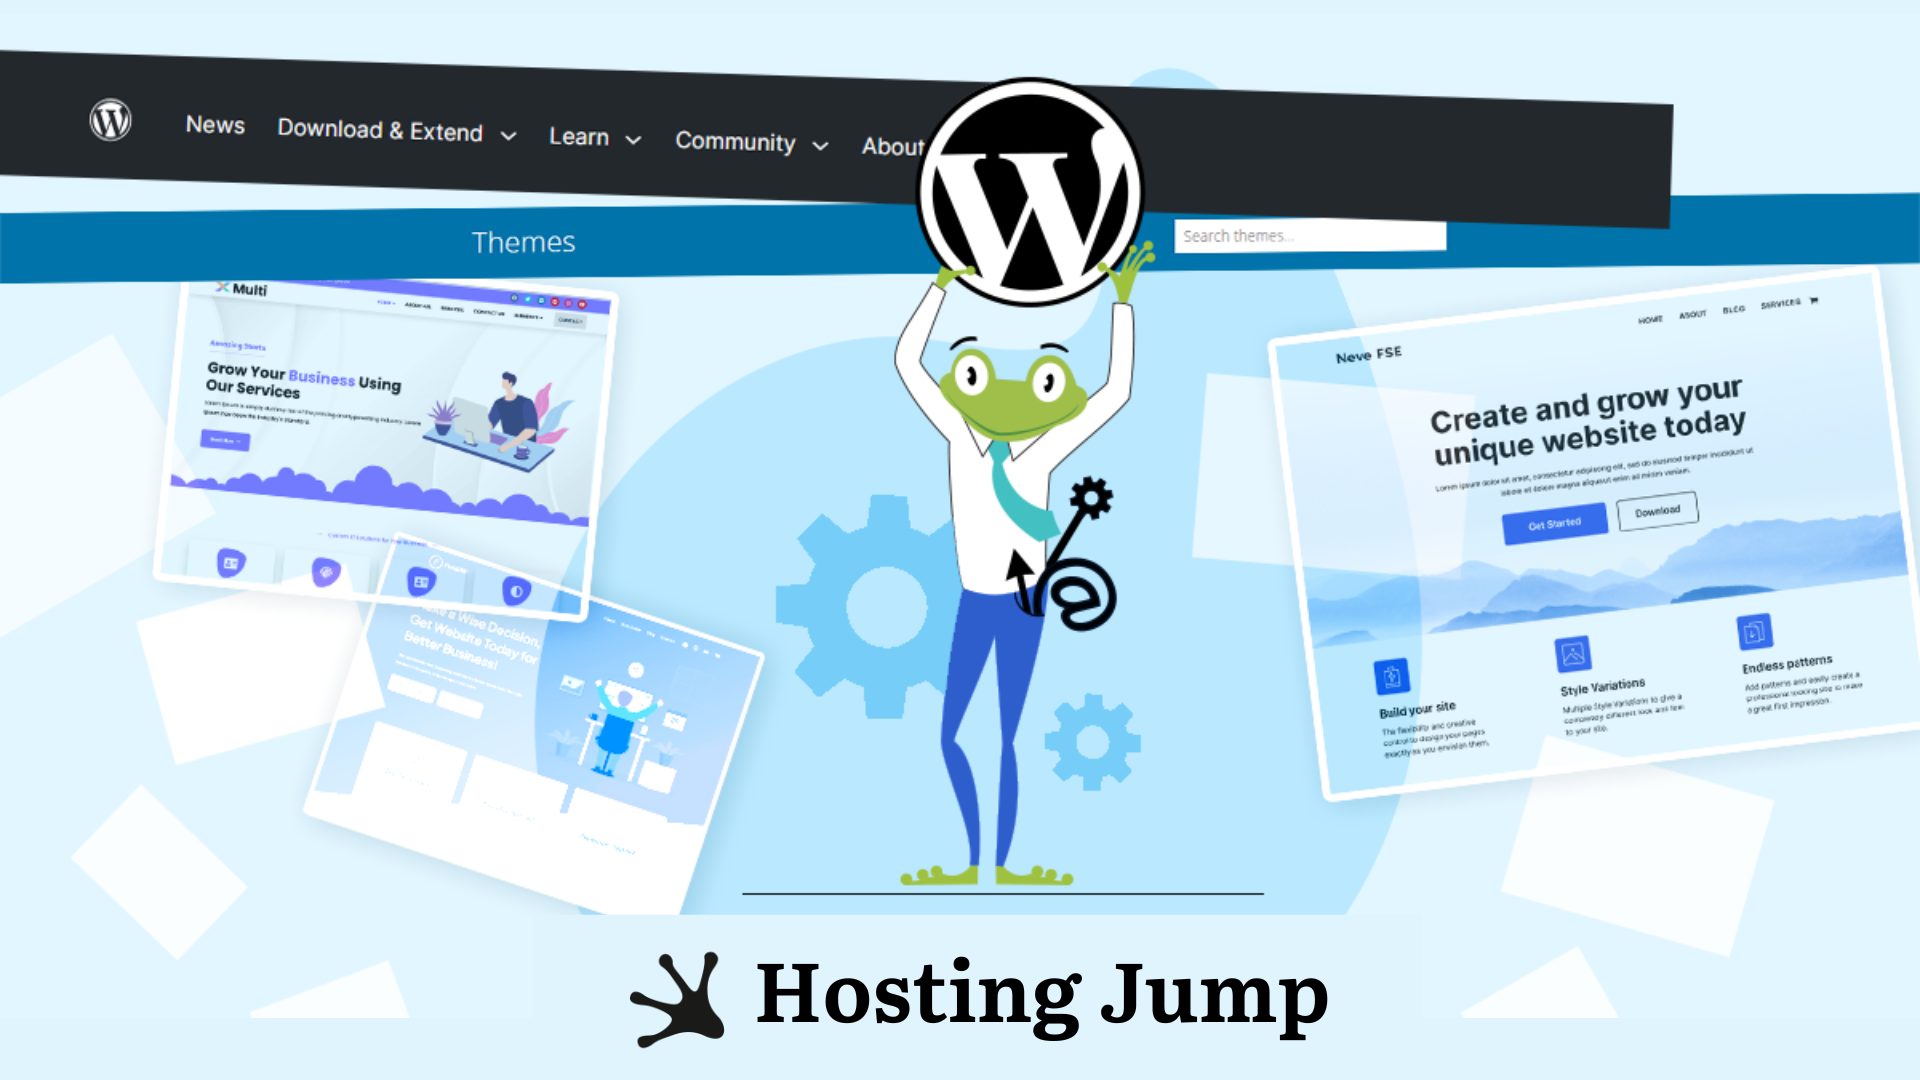
In the WordPress administration console, click on “Appearance” in the right-hand sidebar and then on “Themes”.
Important: Choose themes that are "responsive", i.e. that also look good on mobile devices. There is a trend towards more and more mobile users.
Select a theme, click on the "Install" button, and then on “Activate”.
And here's a tutorial on deleting a WordPress theme if the one you installed didn't meet your expectations.
Step 4 - Install Plugins
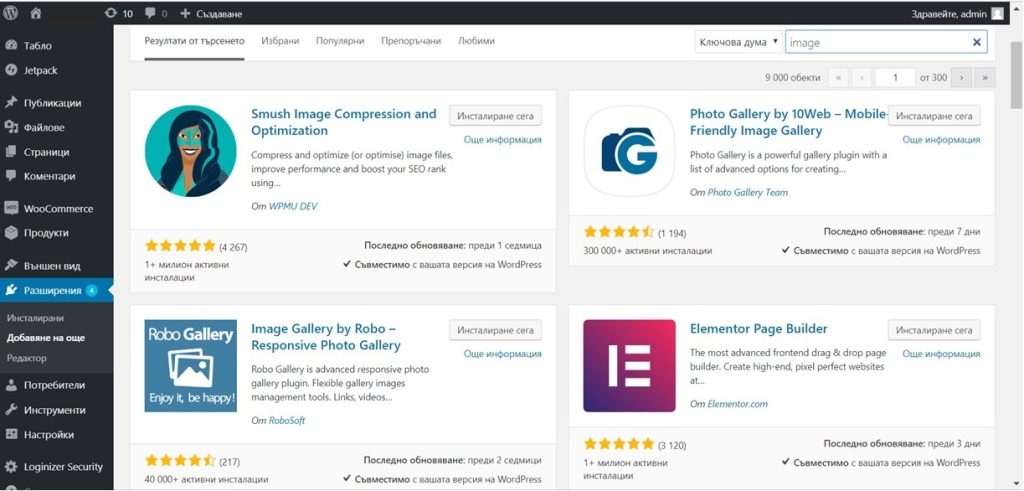
Add functions and tools to your blog, e.g. social sharing, contact form, image galleries, forum, and more.
This action is performed via the administration console, and from there "Extensions" and "Add more".
There is a large selection, we will show you the most popular plugins:
Recommended Plugins for Social Networks

Recommended Plugins for Images
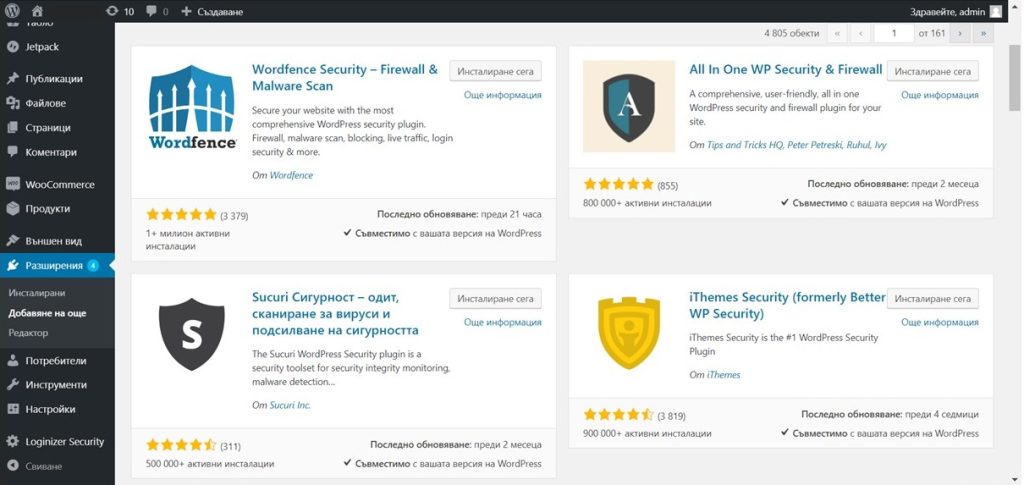
Recommended Plugins for protection
- Wordfence Security - Firewall & Malware Scan
- All In One WP Security & Firewall
- Sucuri Security - Audit, Virus Scan and Security Hardening
- iThemes Security (formerly Better WP Security)
Step 5 - Add New Posts
Content can be added in the admin area using the "Posts" and "Add new" buttons. Write the content and click on the "Publish" button.

Congratulations, you now have your first WordPress blog!
WordPress makes publishing and sharing easy, with tools and features for building blogs of all kinds. If you have troubles regarding WordPress, do not hesitate to contact us for WordPress Support!
